
How to spray paint a bike
If your road bike is beginning to look bruised and battered, why not give it a facelift with a fresh coat of paint rather than replacing it? Although spray painting your bike may seem relatively daunting, it’s a great way to transform it, customising its frame to make it unique to you!
At Spray Paint Hub, we’re outlining our top tips on how to spray paint your bike so you can upcycle it with ease. From the equipment you’ll need and the steps to follow to our top recommended paints and products for the job, your bike will look and feel as good as new in no time!
Table of contents
Which materials will I need to spray paint a bike?
Preparation: How to get spray paint off a bike
How to repaint a bike with spray paint
How to paint a bike frame FAQs
Which materials will I need to spray paint a bike?
Before you prep your bike for its respray, organise your materials, so you have everything to hand. We recommend the following:
- A dust sheet or newspaper to protect the surroundings
- Safety equipment such as a mask, gloves and goggles
- Tools to disassemble your bike, e.g. an Allen wrench, screwdriver, pedal wrench and chain tool
- Various grits of sandpaper
- Painter’s tape
- Primer for the base layer
- Spray paint (in multiple colours if desired)
- A clear varnish for the top coat
When choosing spray paint for your bike, always check that your chosen paint adheres to the material of your bike frame. We recommend Montana and Spray.Bike for a smooth, professional finish. However, if in doubt, always check the product’s description to ensure your chosen paint is compatible.
How to disassemble your bike
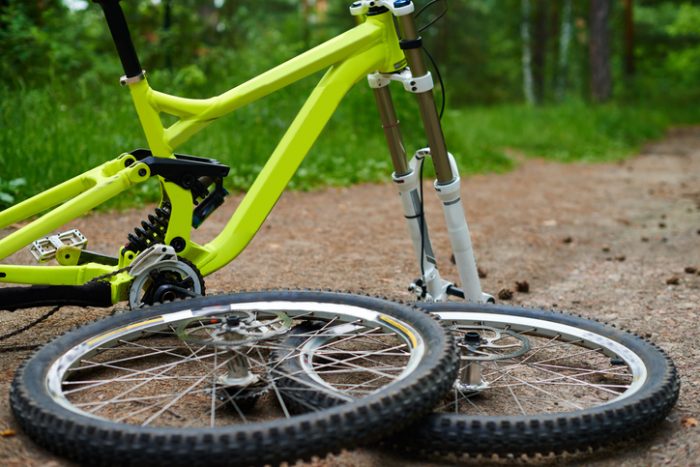
Before you can prep your bike for its spray paint makeover, you must disassemble it. A local bike shop could do this for you for a small cost, or follow these simple instructions to do it yourself;
1 – A dust sheet or newspaper to protect the surroundings
2 – Safety equipment such as a mask, gloves and goggles
3 – Tools to disassemble your bike, e.g. an Allen wrench, screwdriver, pedal wrench and chain tool
4 – Various grits of sandpaper
5 – Painter’s tape
6 – Primer for the base layer
7 – Spray paint (in multiple colours if desired)
8 – A clear varnish for the top coat
Once your bike is disassembled, store the parts, small bolts, and washers somewhere safe before preparing your bike frame.
Preparation: How to get spray paint off a bike
Before you can even think about spray painting your bike, you must prep your frame by removing any paint or decals already on it to ensure a smooth, professional finish once transformed.
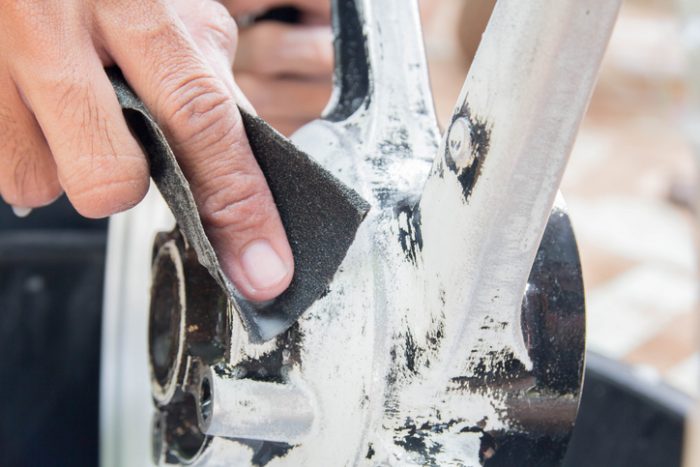
If your bike’s existing decals are difficult to remove, apply gentle heat from a hairdryer or heat gun to loosen the adhesive and make them easier to remove. Once this is done, it’s time to prep your bike frame properly.
How to prep your bike frame
Take your degreaser and thoroughly clean your bike to ensure the new paint will adhere. This will also help remove any glue left over from the decals. Then, take your sandpaper and lightly sand the frame to remove any old paint and create a smooth surface for the new paint application. The key here is to remove as much of the old paint as possible and any rust.
Once you’ve removed as much paint as possible, wipe the frame down with a damp cloth and leave to air dry before moving on to the next step.
How to repaint a bike with spray paint
Before priming the bike frame’s surface, use painter’s tape to cover the areas you want to keep paint-free, such as the posts for the brakes, any bearing surfaces or any threads where parts will need to be screwed back in when you come to reassemble it.
Next, you’ll want to choose a well-ventilated area for your paint station. Ideally, this will be somewhere outside, but if you don’t have the space to do this, opt for somewhere like your garage, keeping the door open for ventilation.
Lay out your dust sheet on the ground to protect the area from any paint splatters that might occur. Then, we’d recommend you mount or suspend your frame to make it easy to paint.
If you’re in an area where you can hang it, loop rope or wire through the head tube and hang it from a tree branch, a rafter, or the ceiling if you’re working indoors. If this isn’t possible, mount the frame on a table, desk, or stand that will hold the bike off the ground.
Start by priming your bike frame
It’s important to prime your bike frame before applying paint to ensure that your spray paint will adhere to the surface effectively, providing a better overall finished look. Primer also helps to give the frame a protective layer, so your paint will last longer in harsh weather.
Start by applying your safety equipment, then apply your primer using a sweeping motion from left to right, as if you were slowly waving at someone. This technique makes for consistent application and prevents air bubbles from building up.
Primers often need a while to cure, usually from 12 to 24 hours, so give yours plenty of time to dry before applying your spray paint colour to prevent bubbles and imperfections from forming under the paint. We recommend Spray.Bike primer, available for priming metal and carbon frames, or Montana primer for best results.

Once dry, sand down your primer with 600-grit sandpaper to remove imperfections. Finally, wipe down with a clean, damp cloth.
How to spray paint a bike frame
Once you’ve chosen the colour you’d like to spray your bike, it’s time to apply the paint.
Just as you did with your primer, apply the paint in sweeping motions, and if you miss sections, don’t worry; these can be covered with future coats.
The key to spray painting your bike effectively is to hold the can between 5 and 12 centimetres away, allowing it to land on the frame in perfect conditions for a light, even coat. Closer than this could cause the paint to go on too thick or bleed, whereas too far away could cause the paint to dry, turning it to powder, which could easily rub off the frame. When spraying, keep the paint moving to avoid dripping or running.
For best results, allow each coat to dry before applying the next, leaving around 15 to 30 minutes between coats. Applying two or three coats of paint will provide a smooth, professional finish.
If you want to add unique designs to your bike’s repaint, experiment with painter’s tape to create stencilled designs to spray onto your bike in a contrasting colour. Isolate the area where you want to spray the design to prevent the paint from spreading and apply multiple coats, allowing it to dry in between, just as you did when painting the frame.
Apply a top coat
Once all of your spray paint is completely dry, it’s time to apply a top coat.
Spray an even layer of clear varnish across the bike using the same process as with the paint. We recommend Spray.Bike’s Frame Builder’s Transparent Finish in matte or gloss, depending on your preference. With this specific varnish, you’ll need to leave two hours between coats and a full 24 hours to dry once the final coat has been applied.
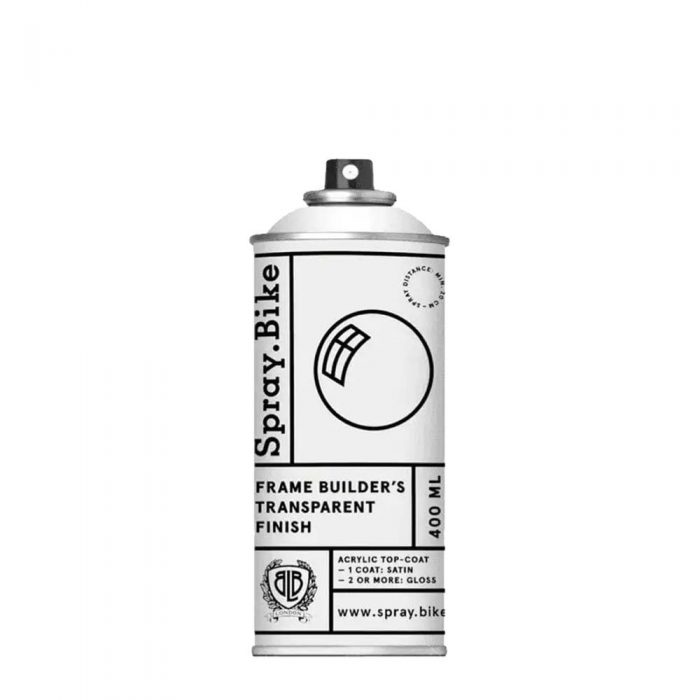
A top coat helps to seal the spray paint and protects your bike frame in all weather, preventing the paint from chipping or the frame from corroding.
Once your frame is completely dry, lift it down and remove the painter’s tape. Reassemble the parts, then take your freshly painted bike out for its maiden voyage!
How to paint a bike frame FAQs
Now you know the main steps to repainting your bike frame, we’ve gathered together some frequently asked questions to cover anything we might have missed and to ensure that your repaint gives you the best results possible!
Can I spray paint my bike without taking it apart?
Although this might seem like a timesaving option, we wouldn’t recommend it. Masking the parts you would otherwise remove could prove problematic, as the paint could seep into the bike’s working parts, causing further problems.
Can I spray paint a bike without sanding it?
If you miss the sanding step, the spray paint won’t adhere to the frame correctly, creating a messy finish. We’d always recommend sanding and priming your bike frame before painting it.
How to paint a carbon fibre bike frame
To paint your carbon fibre bike frame, follow the same steps. However, check your chosen paint’s product description and instructions to ensure it is compatible with your bike frame. The Spray.Bike collection is suited to carbon, steel and aluminium frames.
Will one can of spray paint be enough to cover my bike frame?
Generally, when applied correctly, one can of 400 ml spray paint should be enough to repaint a bike frame. However, we’d always recommend checking the manufacturer’s instructions for guidance on the spray distance recommendations and the best coordinating base coat to ensure you get the best out of your paint.
Should I choose matte or gloss spray paint for my bike?
The finish you choose for your bike will depend on your personal preference. Here are some consideration points when deciding which finish will best suit your needs:
Matte spray paint
Matte spray paint is better for hiding surface scratches and imperfections because it absorbs more light than gloss. However, buffing out scratches from matte paint is harder as this can alter the finish. Oil, sweat and smudges might also appear more visible than on gloss paint as the finish requires more maintenance to look clean.
Gloss spray paint
Gloss spray paint generally offers more colour depth, is easier to clean and the finish makes it easier to buff out scratches. However, scratches and dirt are often more visible in gloss paint than matte, so it might be worth considering this before deciding on this finish.
Find all of the spray paint you need to transform your bike at Spray Paint Hub
Now you have all the knowledge you need to spray paint your bike, why not shop for all the essentials to complete the job at Spray Paint Hub? Finding everything you need to complete your bike’s transformation has never been easier, from lubricant and grease to clean down your frame to primers and top coat varnishes. And with spray paints in various finishes, including metallic and pearlescent, it’s never been easier to create a bespoke design to make your bike look and feel uniquely yours!
Comments are closed here.